From Pool Removal to Summer Yard: May Preparation Guide
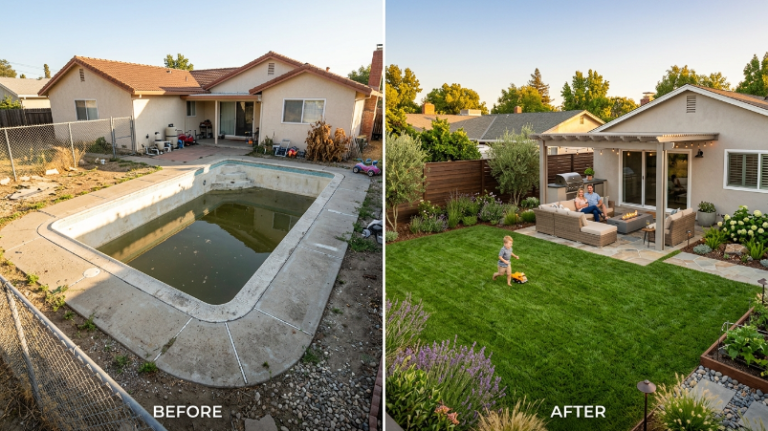
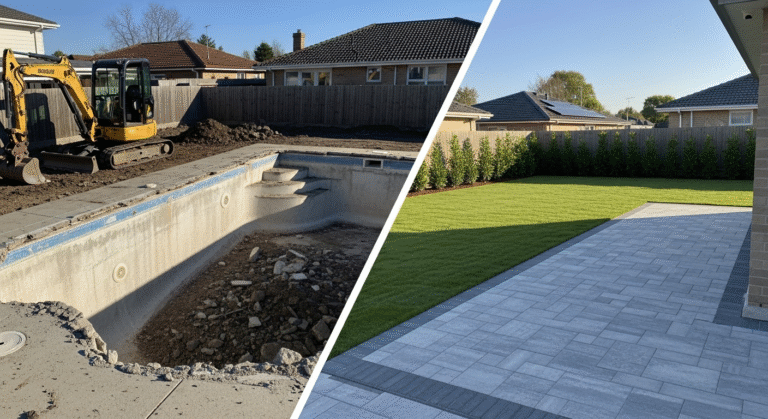
Is your backyard still showing the scars of a recent pool demolition? May is the perfect window to prepare yard after pool removal and transform that raw, unfinished space into a lush, functional outdoor living area before summer arrives. In this guide, you will learn exactly how to prepare yard after pool removal may projects require — from soil restoration and grading to landscaping, seeding, and final finishing touches. Whether your pool was removed last month or last fall, the steps below will help you reclaim your outdoor space with confidence. Keep reading to discover everything Concord and East Bay homeowners need to know to prepare yard after pool removal this May and enjoy a beautiful summer yard by June.
Why May Is the Best Month to Prepare Your Yard After Pool Removal
Timing matters when you prepare yard after pool removal. May sits in a sweet spot for Northern California homeowners — the rainy season is winding down, soil temperatures are rising, and there is still enough mild weather ahead to establish grass, plants, and hardscape before the heat of summer peaks. If you wait until June or July, the dry heat in Contra Costa County can stress newly seeded lawns and slow root establishment significantly.
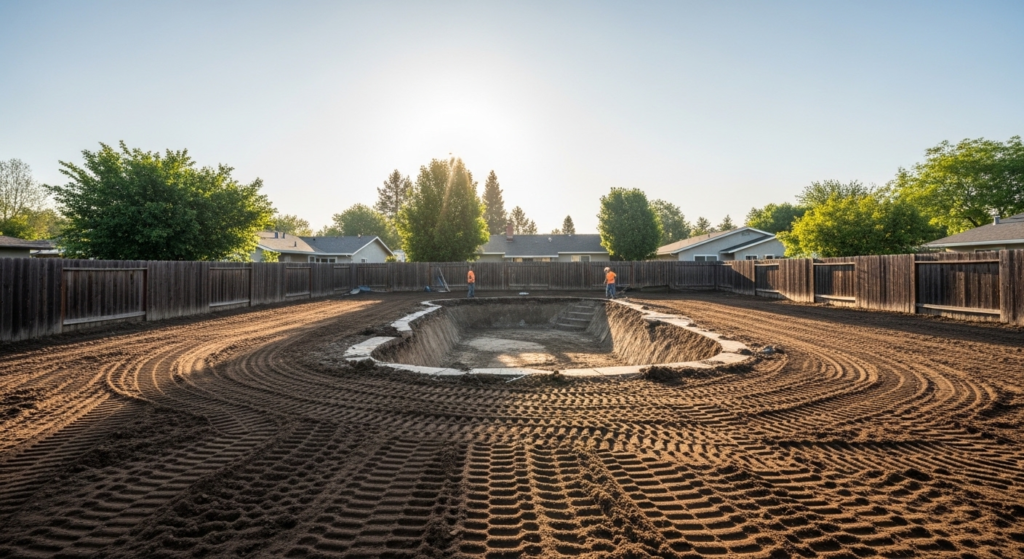
May also gives you a full month of moderate temperatures to let the backfilled soil settle and compact properly before heavy foot traffic or landscaping begins. Soil that was disturbed during pool demolition needs time to stabilize, and May’s conditions — warm days, cool nights, and occasional moisture — are ideal for that process.
The Seasonal Advantage for Concord and East Bay Homeowners
In the Concord and Walnut Creek area, May averages highs in the mid-70s with low humidity — perfect conditions to prepare yard after pool removal may projects call for. Grass seed germinates well, sod takes root quickly, and plants transplanted now have weeks to establish before summer stress. Homeowners near Clayton Road and throughout Contra Costa County consistently report the best results when they begin their yard restoration in the first two weeks of May.
What Happens If You Wait Too Long
Delaying yard preparation past June means competing with the East Bay’s dry season. Watering demands spike, new sod can fail without daily irrigation, and soil compaction becomes harder to address once the ground dries out. Acting now — while you still have time to prepare yard after pool removal may conditions favor — is the single most important decision you can make for a successful yard transformation.
Step 1: Assess and Prepare the Soil After Pool Removal
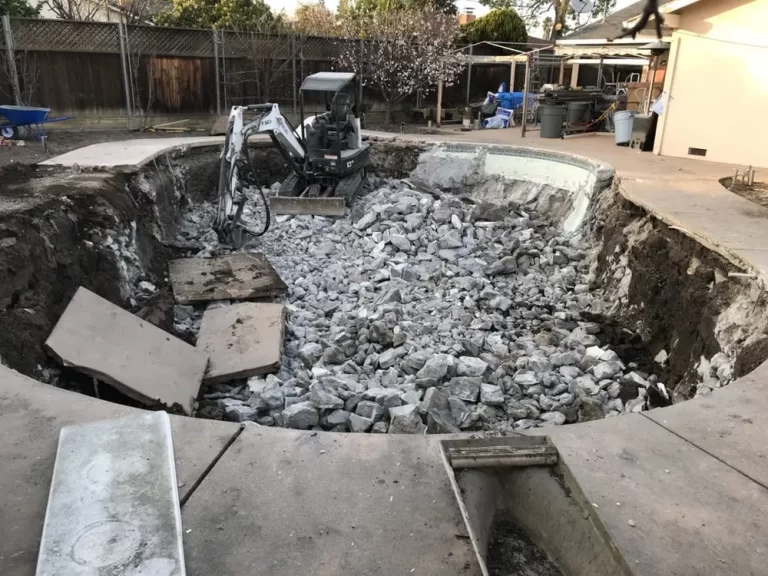
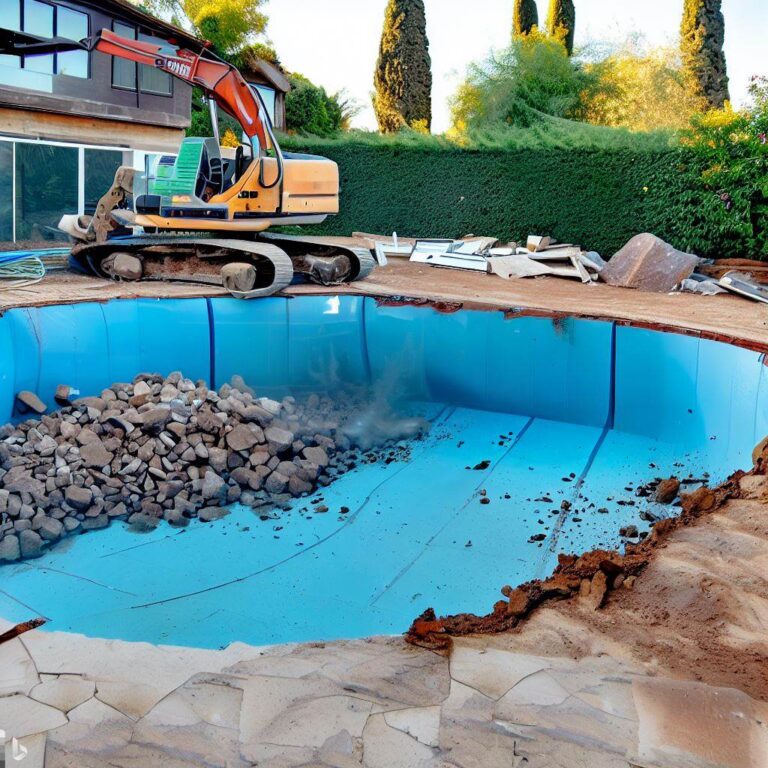
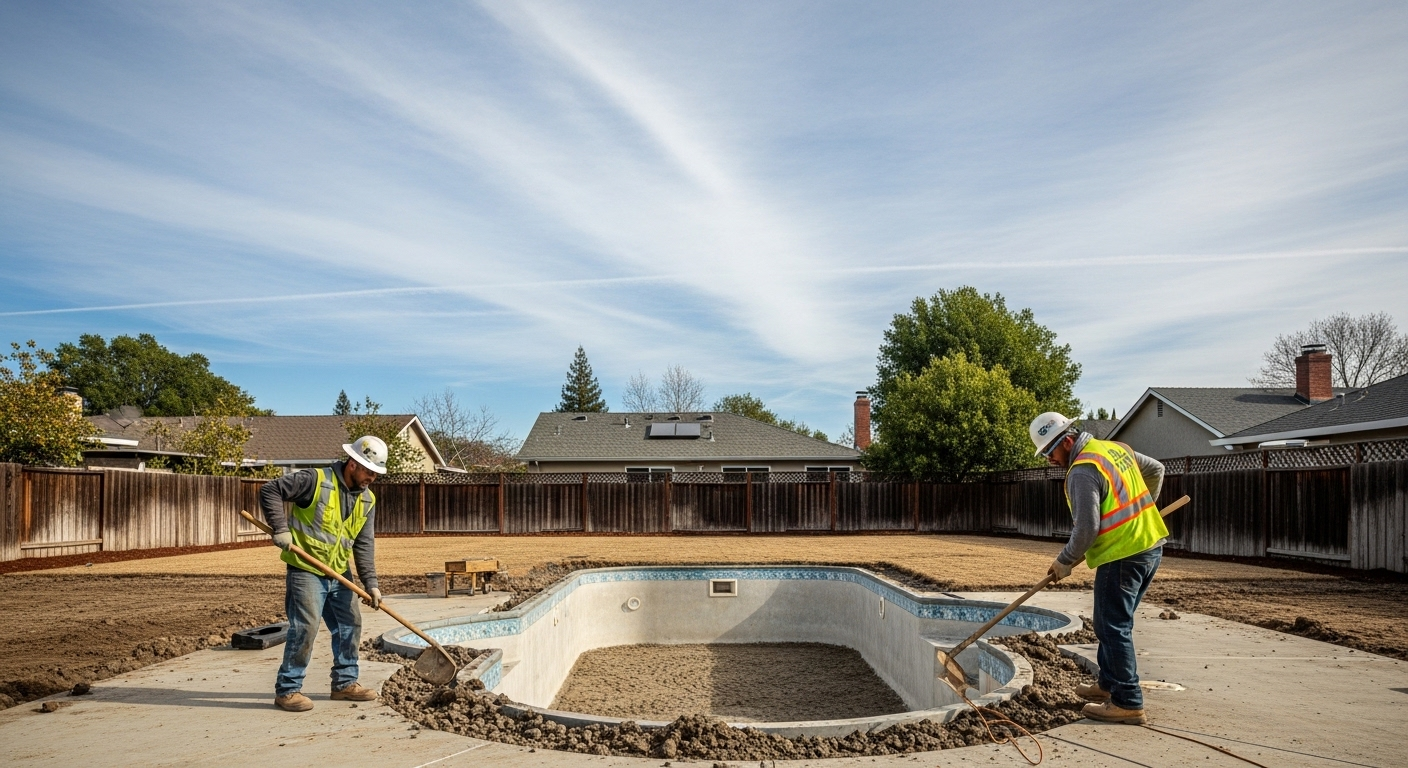
Before any landscaping begins, the soil left behind after pool demolition must be properly assessed and conditioned. When a pool is removed — whether through full demolition or partial fill-in — the backfilled area is typically a mixture of native soil, gravel, and compacted fill material. This is not the same as undisturbed topsoil, and treating it like normal ground will lead to uneven settling, drainage problems, and poor plant growth.
Soil Testing: The First Step to Prepare Yard After Pool Removal May
Start with a basic soil test to measure pH, nutrient levels, and organic matter content. Kits are available at most East Bay hardware stores, or you can send a sample to a local agricultural extension lab. When you prepare yard after pool removal may conditions require a pH between 6.0 and 7.0 for most grass species and ornamental plants commonly used in California landscaping.
If the fill material has elevated pH or poor structure, you will need to amend the soil with compost, gypsum, or other conditioners before seeding or planting. Skipping this step is one of the most common reasons newly restored yards struggle in their first season.
Grading and Compaction: Getting the Surface Right
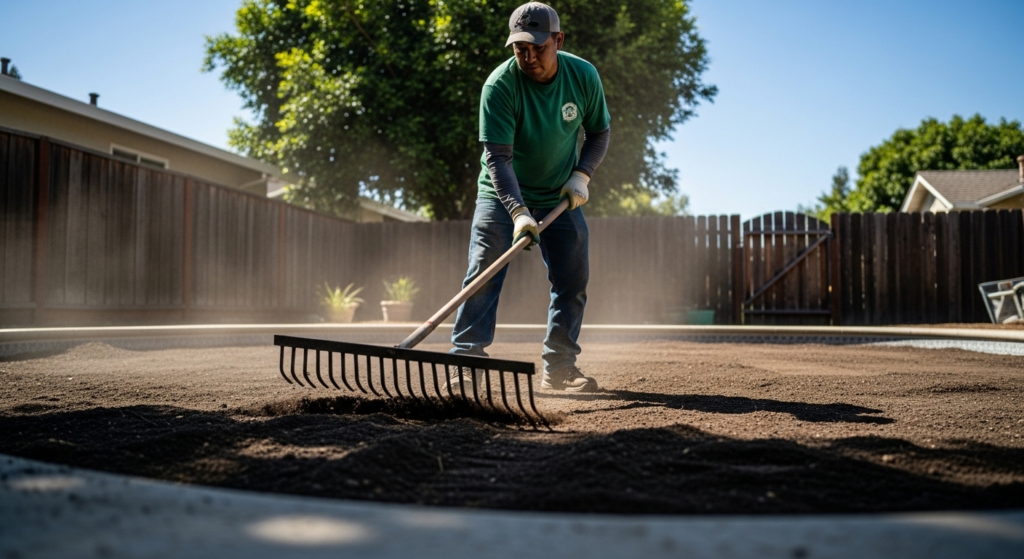
Proper grading ensures water drains away from your home’s foundation rather than pooling in the low spot left by the old pool. Use a laser level or a long straightedge to check the slope — aim for at least a 2% grade away from the house. If the backfilled area is still soft or uneven, rent a plate compactor to firm up the surface before adding topsoil or laying sod.
Adding 4 to 6 inches of quality topsoil over the compacted fill is highly recommended before you prepare yard after pool removal may planting schedules require. This layer of fresh topsoil gives roots something nutrient-rich to grow into immediately, rather than struggling through compacted fill.
Step 2: Choose the Right Landscaping Approach for Your Space
Once the soil is ready, you face the most exciting decision of the entire project: what to do with the space. The area left after pool removal is often the largest open space in the entire backyard, and homeowners who prepare yard after pool removal may projects reveal have a wide range of options depending on their lifestyle, budget, and long-term goals.
Option A — Lawn Restoration with Sod or Seed
For families with children or pets, a traditional lawn is the most popular choice. In Concord and surrounding East Bay communities, warm-season grasses like Bermuda and Zoysia perform well in the summer heat, while fescue blends offer a greener appearance year-round. If you need immediate coverage, sod is the faster solution — rolls of sod can be installed in a single day and look finished right away. If budget is a concern, seeding costs significantly less but requires 3 to 4 weeks of consistent watering before the grass fills in.
May is the ideal time for either approach. To prepare yard after pool removal may seeding schedules recommend sowing warm-season seed when soil temperatures reach 65°F — which typically happens in Contra Costa County in late April to early May.
Option B — Hardscape and Outdoor Living Space
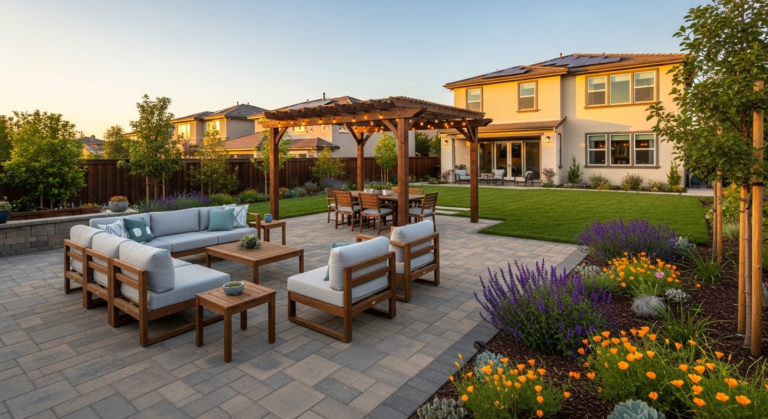
Many homeowners choose to replace the pool area with a patio, deck, or outdoor kitchen. Pavers, stamped concrete, and natural stone are all popular in East Bay neighborhoods. This option eliminates irrigation costs and maintenance while creating a highly usable entertaining space. If you plan to add hardscape, the grading work done in Step 1 is especially critical — proper drainage prevents pavers from shifting and concrete from cracking.
Option C — Native and Drought-Tolerant Landscaping
Given California’s ongoing water challenges, more and more homeowners who prepare yard after pool removal may also choose to install drought-tolerant, California-native landscaping. Plants like California poppy, native grasses, lavender, and ornamental sage thrive in Concord’s climate with minimal irrigation once established. This option can also qualify for local water district rebates, reducing your overall project cost.
Visit pool removal services to learn how Bye Bye Pool preps the site for your preferred landscaping approach from day one.
Step 3: Irrigation Planning Before You Plant
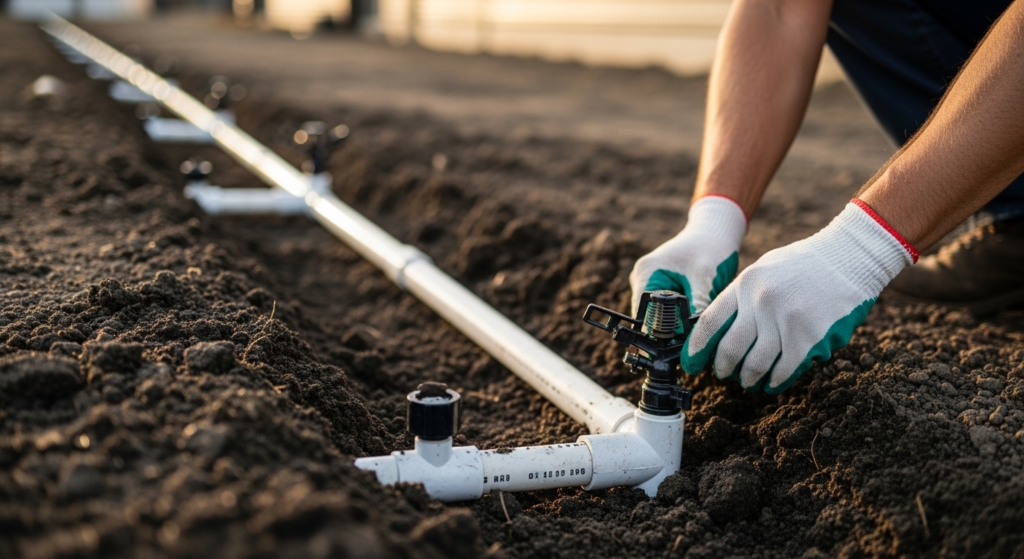
Do not skip irrigation planning when you prepare yard after pool removal may timelines are tight. Installing or extending your irrigation system before laying sod or planting is far easier and less expensive than retrofitting it afterward. May’s moderate temperatures give you a brief window to get the system in the ground before summer irrigation demand kicks in.
Drip vs. Spray Systems for Post-Pool Yards
If you are installing native or drought-tolerant plants, a drip irrigation system is the most water-efficient choice. For a traditional lawn, rotor or spray heads provide the even coverage grass needs during establishment. Most East Bay homeowners who prepare yard after pool removal may projects plan for both — spray heads for the lawn zone and drip lines for planting beds around the perimeter.
Consider a smart irrigation controller that adjusts watering schedules based on local weather data. Contra Costa County water districts often offer rebates for smart controllers, which can further offset the cost of your yard restoration project.
Step 4: Planting, Seeding, and Final Finishing
With soil prepared and irrigation in place, you are ready for the most visually rewarding phase: planting. When you prepare yard after pool removal may timelines favor, you have a realistic path to a finished, green yard within four to six weeks — just in time for summer entertaining.
Sod Installation Best Practices
Lay sod in a staggered brick pattern, pressing edges tightly together to minimize visible seams. Water immediately after installation — sod needs 1 inch of water per day for the first two weeks. Avoid foot traffic for at least 14 days to allow root establishment. Keep the perimeter of the new lawn slightly mounded to account for the minor settling that occurs in backfilled areas.
Seeding and Germination Tips for May
If seeding rather than sodding, apply seed at the rate recommended on the package — typically 6 to 8 pounds per 1,000 square feet for fescue blends. Lightly rake the seed into the top quarter-inch of soil and apply a thin layer of straw mulch to retain moisture. Water two to three times daily in short cycles until germination occurs, then transition to deeper, less frequent watering. To prepare yard after pool removal may schedules efficiently, seed within the first two weeks of the month so germination is complete before June heat arrives.
Finishing Touches: Edging, Mulch, and Borders
Once the lawn area is established, add definition with steel or plastic edging between lawn and planting beds. Apply 2 to 3 inches of shredded bark or wood chip mulch around plants and shrubs to retain moisture and suppress weeds. These finishing details are what separate a yard that looks “done” from one that still looks like a construction zone, and they make a significant difference when your neighbors and potential buyers see the transformation.
Why Concord Homeowners Trust Bye Bye Pool to Set the Stage
The quality of your yard restoration depends heavily on how well the pool removal was executed in the first place. Pool demolition in Concord done by Bye Bye Pool includes proper backfill compaction, rough grading, and permit-compliant site preparation — so when you prepare yard after pool removal may projects begin, the foundation is already solid.
Bye Bye Pool is located at 4918 Clayton Rd, Concord, CA 94521, and has served homeowners throughout Contra Costa County and the East Bay for years. Their team understands that the removal itself is just the first step — what comes after is what homeowners will live with for decades.
One Concord homeowner near Todos Santos Plaza shared that after Bye Bye Pool completed their full removal and compacted the backfill properly, she was able to lay sod just three weeks later. “The yard was level, the soil was firm, and we had grass by June,” she noted. Another East Bay client described the process as “seamless from demolition to landscaping — they thought ahead so we didn’t have to.”
Read more avaliações no Google and avaliações no Yelp from homeowners who successfully transformed their yards after working with Bye Bye Pool. Learn more about our team or explore all service areas across the East Bay.
Ready to get started? Contact Bye Bye Pool today and ask about site preparation options that make your May yard restoration easier from day one.
Common Mistakes When You Prepare Yard After Pool Removal in May
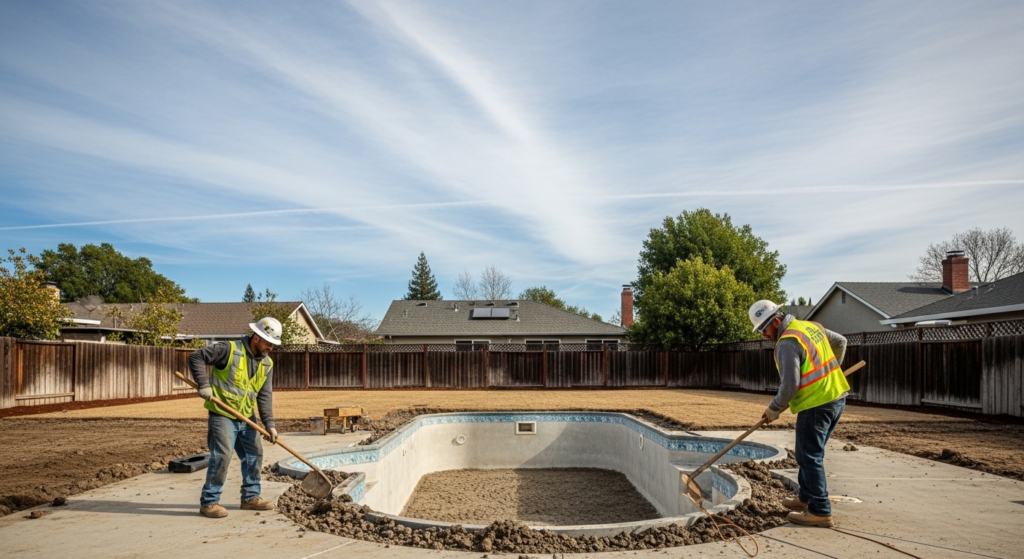
Even motivated homeowners make avoidable mistakes when they prepare yard after pool removal may projects get underway. Knowing what to watch for can save you time, money, and the frustration of redoing work. Here are the most common errors and how to avoid them.
- Starting landscaping before the backfilled soil has had adequate time to settle — wait at least 2 to 4 weeks after removal before adding heavy topsoil or hardscape.
- Skipping the soil test and amending incorrectly, resulting in lawn patches, poor drainage, or plant failure within the first season.
- Failing to establish proper drainage slope before planting — water pooling in the old pool footprint is a persistent problem when grading is skipped.
- Installing irrigation after sod rather than before, which requires cutting up the new lawn to run lines.
- Using fill-grade soil or construction soil as the top layer instead of quality topsoil or amended planting mix.
- Overwatering newly seeded areas, which causes fungal problems and seed wash, especially in heavy clay soils common in Contra Costa County.
- Not accounting for the slight depression that can appear after 6 to 12 months of settling — plan for a minor topdressing of the lawn area in fall.
- Choosing plants that require heavy summer irrigation before a proper drip system is in place.
Visit our FAQ page for more answers to common questions about site preparation and post-removal yard care.
FAQ — Prepare Yard After Pool Removal May
Here are the five most common questions homeowners ask when they prepare yard after pool removal in May, answered in plain language.
Q: How long after pool removal should I wait before landscaping in May?
A: For most full removals, waiting 2 to 4 weeks after backfill is recommended before beginning landscaping. This allows the soil to settle and compact naturally. In cases where the contractor used a plate compactor and quality fill, you may be able to start sooner. When you prepare yard after pool removal may timelines are tight, ask your contractor about compaction methods used during removal.
Q: What is the best grass for a backyard in Concord, CA after pool removal?
A: For Concord’s climate, tall fescue blends are the most popular choice for year-round green coverage. Bermuda grass is excellent for high-traffic areas and handles summer heat well. When you prepare yard after pool removal may seeding windows open, both options germinate well in the warm soil temperatures typical of early May in Contra Costa County.
Q: Do I need a permit to landscape after pool removal in California?
A: Landscaping typically does not require a permit, but hardscape additions like patios, retaining walls over 30 inches, or structures like pergolas may require one depending on your city. The pool removal itself requires permits, and your contractor should have secured final inspection approval before site work was completed. Connect with Bye Bye Pool to confirm your site’s permit status before landscaping begins.
Q: Can I install a patio instead of a lawn where my pool used to be?
A: Absolutely. Many homeowners who prepare yard after pool removal may also choose to install pavers, stamped concrete, or a deck over the former pool footprint. The key is ensuring the backfilled soil is properly compacted before any hardscape is laid. Poorly compacted fill will cause pavers to shift and concrete to crack within one to two years.
Q: How much does it cost to restore a yard after pool removal in California?
A: Yard restoration costs vary based on square footage, materials chosen, and whether you hire professionals or DIY. Basic sod installation runs $1 to $2 per square foot installed. A full landscaping package with irrigation, plants, and hardscape elements can range from $5,000 to $20,000+ depending on the scope. When you prepare yard after pool removal may budgets are set early, prioritizing soil preparation and irrigation gives you the best return on every dollar spent.
Conclusion
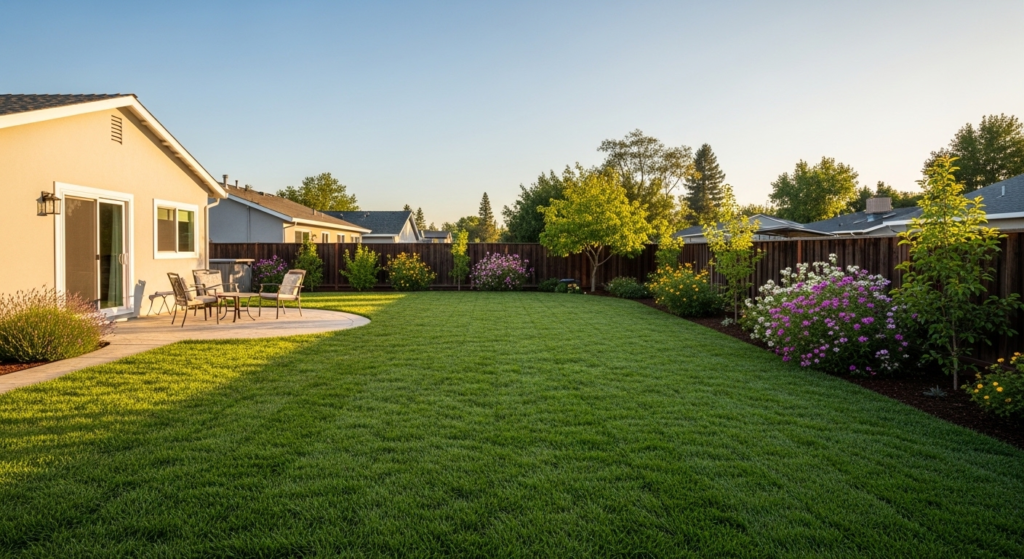
May is your best opportunity to prepare yard after pool removal and build the outdoor space your family deserves before summer begins. By addressing soil preparation, proper grading, irrigation planning, and smart plant selection in the right order, you avoid the most common pitfalls and set the stage for a yard that looks great and functions well for years to come. From first-time landscapers to experienced homeowners, every project benefits from starting with a properly prepared site.
Bye Bye Pool makes the entire process easier — from clean, code-compliant removal to a backfill-ready site that sets your landscaping up for success. Reach the team at +1 (925) 940-9978, email byebyepool.com@gmail.com, or visit the office at 4918 Clayton Rd, Concord, CA 94521. Office hours: Monday–Friday 9AM–5PM, Saturday 9AM–2PM. Follow along on Facebook and Instagram for project photos and tips.
Ready to remove your pool and transform your yard this May? Request your free quote today